

 See My Latest Article on HelloNation
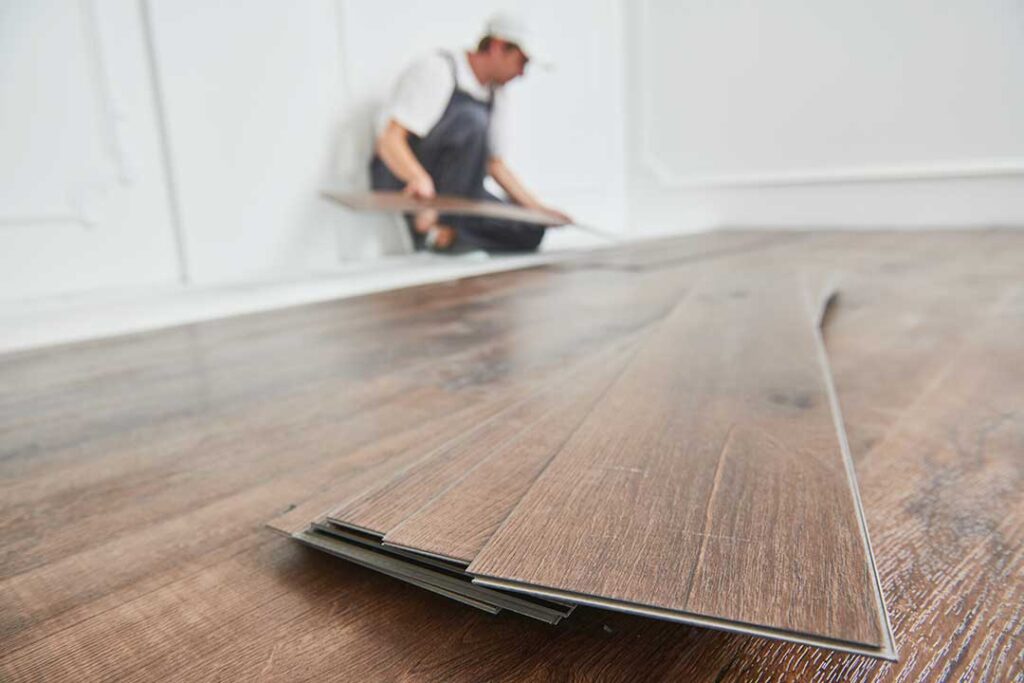
Hardwood floors can develop scratches from grit, furniture legs, pet nails, shoes, or everyday traffic. The right repair depends on whether the damage affects only the finish, reaches the wood itself, or has caused splintering or a deeper gouge.
In Rochester, seasonal moisture changes can also affect wood flooring. Winter heating, tracked-in salt, and damp conditions near entryways may make surface wear more noticeable. Before repairing a scratch, identify the floor’s finish and the depth of the damage.
How can you tell how deep a hardwood floor scratch is?
A light scratch usually appears as a dull or whitish line but does not noticeably change the floor’s shape. It may be limited to the protective finish.
A deeper scratch may expose the natural wood beneath the finish. The mark often looks darker, lighter, or more sharply defined than the surrounding boards. If a fingernail catches in the scratch, the wood may be indented rather than simply scuffed.
A gouge is more serious. It removes wood, creates a visible depression, or leaves rough or splintered edges. Water may also collect in the damaged area, especially near entrances where melted snow and road salt are tracked indoors.
This simple assessment helps determine the appropriate repair:
- Surface scuff: Clean and carefully restore the finish.
- Shallow scratch: Blend the mark with a compatible touch-up product.
- Deep scratch or gouge: Fill, color-match, and reseal the damaged area.
- Widespread wear: Consider refinishing a larger section instead of treating individual marks.
What should you do before repairing the scratch?
Clean the floor gently before applying anything. Grit left in the scratch can cause additional abrasion while rubbing or buffing.
Use a soft broom, dry microfiber mop, or vacuum attachment intended for hard floors. If needed, use a slightly damp cloth with a hardwood-floor cleaner that is compatible with the existing finish. Do not saturate the boards. Excess moisture can seep into seams and contribute to swelling, especially on older floors or near exterior doors.
Allow the area to dry completely. Then inspect it in daylight from several angles. A scratch that seems severe under a bright lamp may be limited to the finish, while a less obvious mark may reveal exposed wood when viewed from the side.
Test any repair material in an inconspicuous location first. Floor color can vary between boards, even when the flooring was installed at the same time.
How do you repair a light surface scratch?
For a mark that affects only the finish, begin with the least aggressive method.
Apply a small amount of hardwood-floor finish restorer or a compatible maintenance product to a clean cloth. Work gently along the grain of the wood rather than across it. The goal is to reduce the visibility of the mark, not to scrub through the finish.
Avoid using furniture polish, wax, or oily household products unless the floor’s manufacturer specifically permits them. These products can leave a slippery residue, interfere with future recoating, or make a localized repair more noticeable.
If the scratch is caused by a rubber mark or a deposit on top of the finish, a clean microfiber cloth may be enough. Do not use abrasive sponges, powdered cleaners, steel wool, or sandpaper on a surface scratch.
How do you repair a shallow scratch that exposes wood?
A shallow scratch that reaches the wood generally needs color blending followed by protection.
Choose a touch-up marker, stain, or repair crayon designed for wood flooring. Match the color as closely as possible, but apply it sparingly. Start with a lighter shade and build color gradually. It is easier to darken a repair than to remove excess pigment.
Apply the color only inside the damaged area. Wipe away material that spreads onto the surrounding finish. On a long scratch, several short applications may blend more naturally than one heavy line.
After the color dries according to the product instructions, apply a small amount of compatible clear finish if the repair area is unprotected. The sheen should match the floor—such as matte, satin, or gloss. A color match with the wrong sheen can remain visible even when the stain is accurate.
How do you repair a deeper gouge?
A deeper gouge usually requires filling before coloring. Remove loose splinters carefully with a sharp utility blade only if they can be lifted without enlarging the damaged area. Do not force down raised wood fibers.
Use a wood-floor repair filler that is suitable for the floor’s finish. Press a small amount into the depression, slightly overfilling it. Once hardened, level it carefully with a plastic scraper or very fine abrasive material used with caution.
Color the repaired area in thin layers. Wood grain may need to be imitated with a fine artist’s brush or a narrow touch-up tool. The objective is not to create a perfect new grain pattern, but to prevent the filled spot from appearing as a solid, contrasting patch.
Protect the repair with a compatible finish. If the gouge is on a frequently used walkway, a small patch may wear differently from the surrounding floor. In that situation, the repair may be less visible if the finish is feathered slightly beyond the filled area rather than ending in a sharp boundary.
Should you sand a scratch out of hardwood flooring?
Light sanding is appropriate only when the damage is deeper than the finish and the surrounding floor can safely tolerate it. Sanding through a factory-finished surface can create a dull patch, expose more wood, or remove a layer of veneer.
Engineered hardwood deserves extra caution. Its top wood layer may be relatively thin, and aggressive sanding can expose the core beneath it. Older floors may also have uneven wear, previous refinishing, or boards that are not thick enough for repeated sanding.
A scratch should not be sanded aggressively simply because it is visible. Localized filling and color blending are often safer for a small damaged area. Broad sanding is generally a floor-restoration project rather than a spot-cleaning task.
What mistakes make hardwood scratches worse?
Several common approaches can damage the floor further:
- Scrubbing with abrasive pads or rough sponges
- Using household bleach, ammonia, or strong solvents
- Applying water directly to the floor
- Rubbing across the grain with force
- Using a glossy coating on a matte or satin floor
- Applying stain without testing the color first
- Waxing a floor that has a polyurethane or similar finish
- Sanding engineered flooring without confirming the thickness of the wear layer
A repair should remain localized whenever possible. If the treatment leaves a noticeable halo, sticky residue, or difference in sheen, stop adding product and allow the area to dry before reassessing.
When does a scratch require more than a spot repair?
Individual repairs become less practical when scratches cover many boards, appear in several traffic lanes, or are accompanied by widespread dullness. A floor with repeated finish failure may need screening and recoating, while deeper wear may require sanding and refinishing.
Professional evaluation may be warranted when boards are splintered, loose, cupped, stained dark from moisture, or damaged near a plumbing leak. Water-related damage should be addressed at its source before cosmetic repairs begin.
Residents dealing with winter salt and moisture can reduce future scratching by placing absorbent mats inside exterior doors, removing gritty debris regularly, using felt pads under furniture, and trimming pet nails. Indoor humidity should also remain reasonably stable through the heating season so boards are less likely to shrink, gap, or become unusually dry.